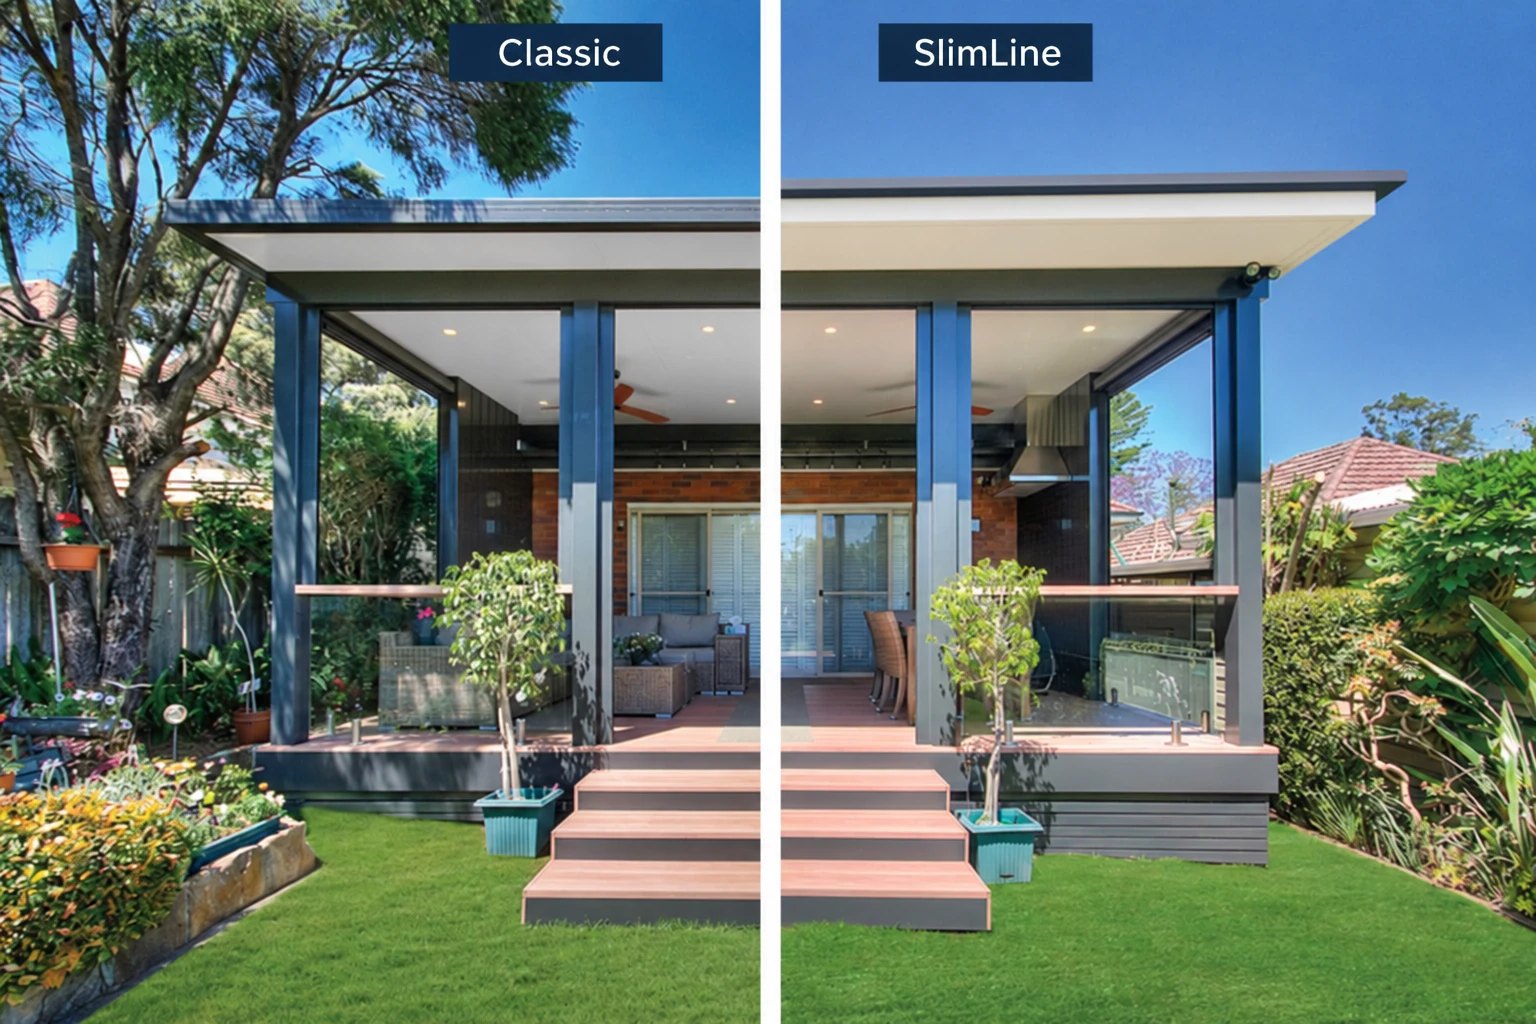
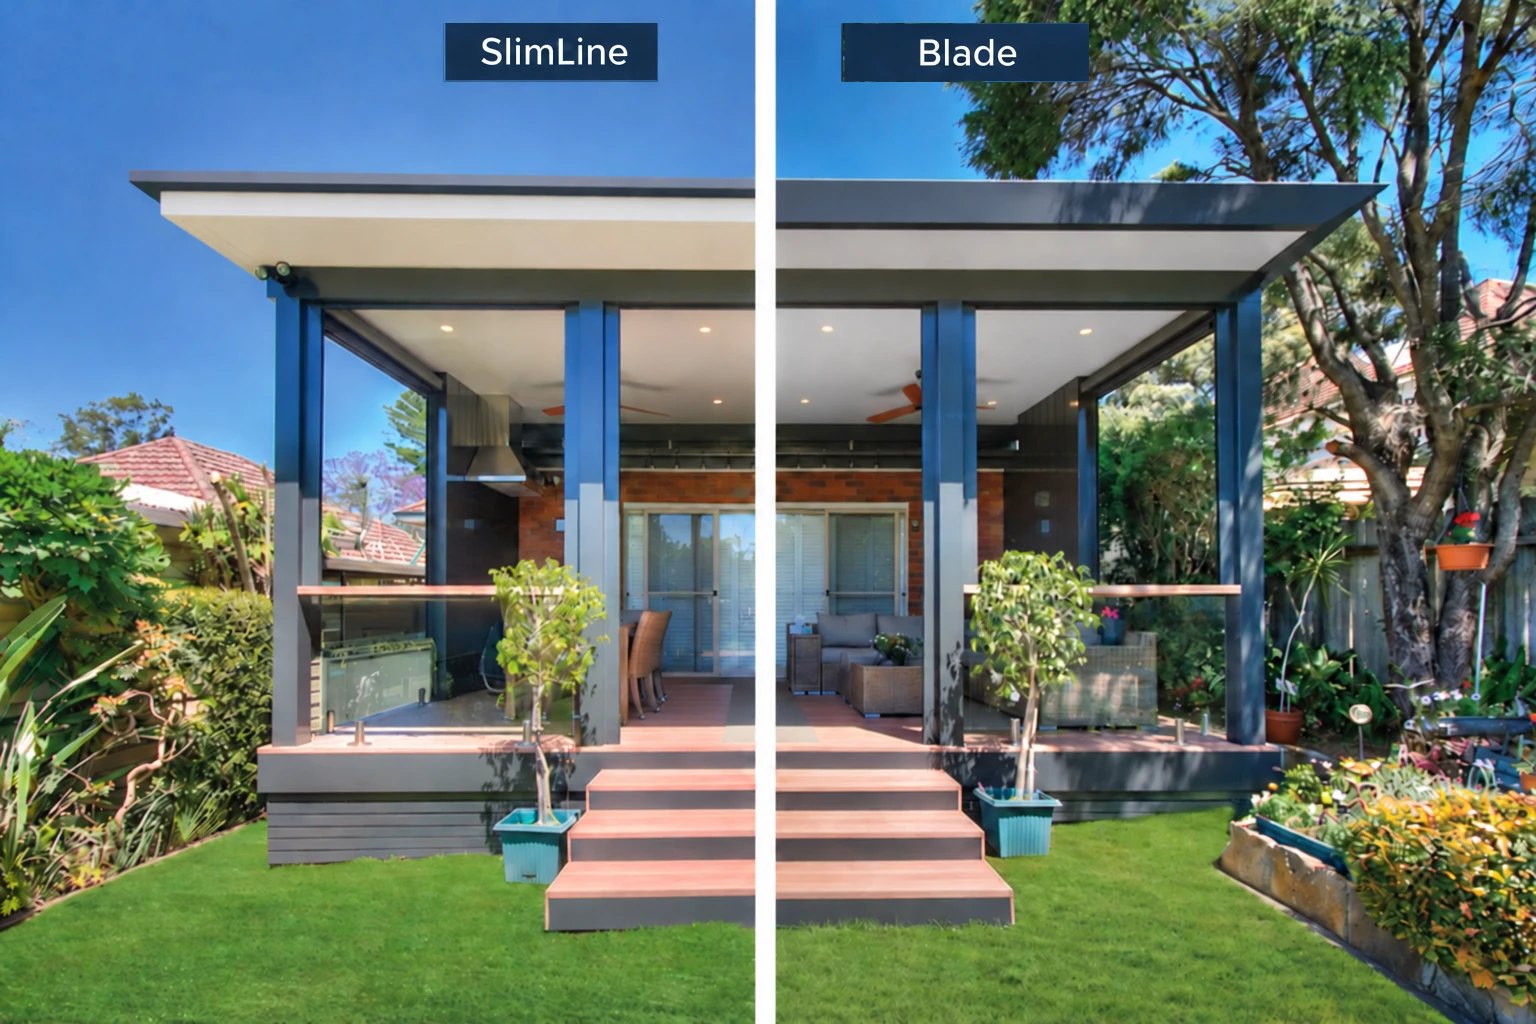
Every one of these was built by a customer from a SelfBuild kit. No renders.
How your patio goes together
Four parts, nothing to cut on site. Here's what each one does.
Two Part Wall Mount Channel. An aluminium channel screwed to your wall. The back of every panel slides into it.
Free standing? There is no wall, so a second beam on its own posts carries the back of the roof and a flashing closes the back edge.
Posts and beam. Two or more aluminium posts carry a beam near the front edge.
Versalink Plus panels. Insulated roof and finished ceiling in one. They click together side by side with a joiner flashing, no laps to cut.
Flashings and gutter. Side flashings close off the edges, the gutter runs across the front with a downpipe to the ground.
Set the scale of your photo
ADD A SCALE or your placed patio won't be accurate. Choose a dimension on your image that you have measured, say the distance between two points. Click on these two points on the photo and add the dimension:
m
Move the green line to the ground level location of the back of your patio.
Click Place your patio to be taken to the next step, or Reset to add a new scale measurement.
1
2
Ground level at the back of your patio Β· drag me
Your patio kit
Every panel cut to your size and packed, ready for delivery or pick up.
What happens next
We call you the next business day to double-check your measurements.
Your kit is made to order in 7 to 10 business days, every panel cut to length.
Delivered on a Versiclad truck. Sydney metro the day after it's made.
Build it over a weekend with the step-by-step guide and phone support.
What's in the box
Delivery
Kit price$0
This will assist Versiclad to make any practical recommendations.
Classic, Signature 1 or Signature 2?
Same panels, same roof. The upgrades change the gutter, the edges and the posts. Tap one to see it on your patio.
Talk to Versiclad about your patio
No obligation. We'll look over your design and call you to go through the details.
This will help us make any recommendations.
β
Your enquiry is ready
This preview isn't connected to Versiclad's inbox yet, so nothing has been sent. Use Share to copy a link to your design and email it to Versiclad, and we'll call you back.
Once this form is linked to Versiclad's inbox or CRM, the design, price and photos will arrive with the enquiry automatically.
Link copied to your clipboard
What are you building?
Pick one to start. You can change your mind at any time from the Size step.
Tips
Use your left mouse button to pan around the image or use the view buttons at the bottom of this screen
Zoom in and out using your mouse wheel
Pan image using your right mouse button
Turn the buttons on or off at the top of the screen to perform different actions
Click Save picture to capture a screen shot of your current patio and view angle
Click Share to copy a link to your current project and setting as it is when you share it
Click and drag the patio itself to move it anywhere on the paving